Tile Contractor in Beachmont, Revere, MA
Full-service tile contractor for residential and commercial projects. From bathroom remodels to custom showers, floor installations, and kitchen backsplashes.
Tile Contractor Services in Beachmont, Revere
Professional tile contractor for homeowners in Beachmont, Revere and the Greater Boston area.
Full-Service Tile Work
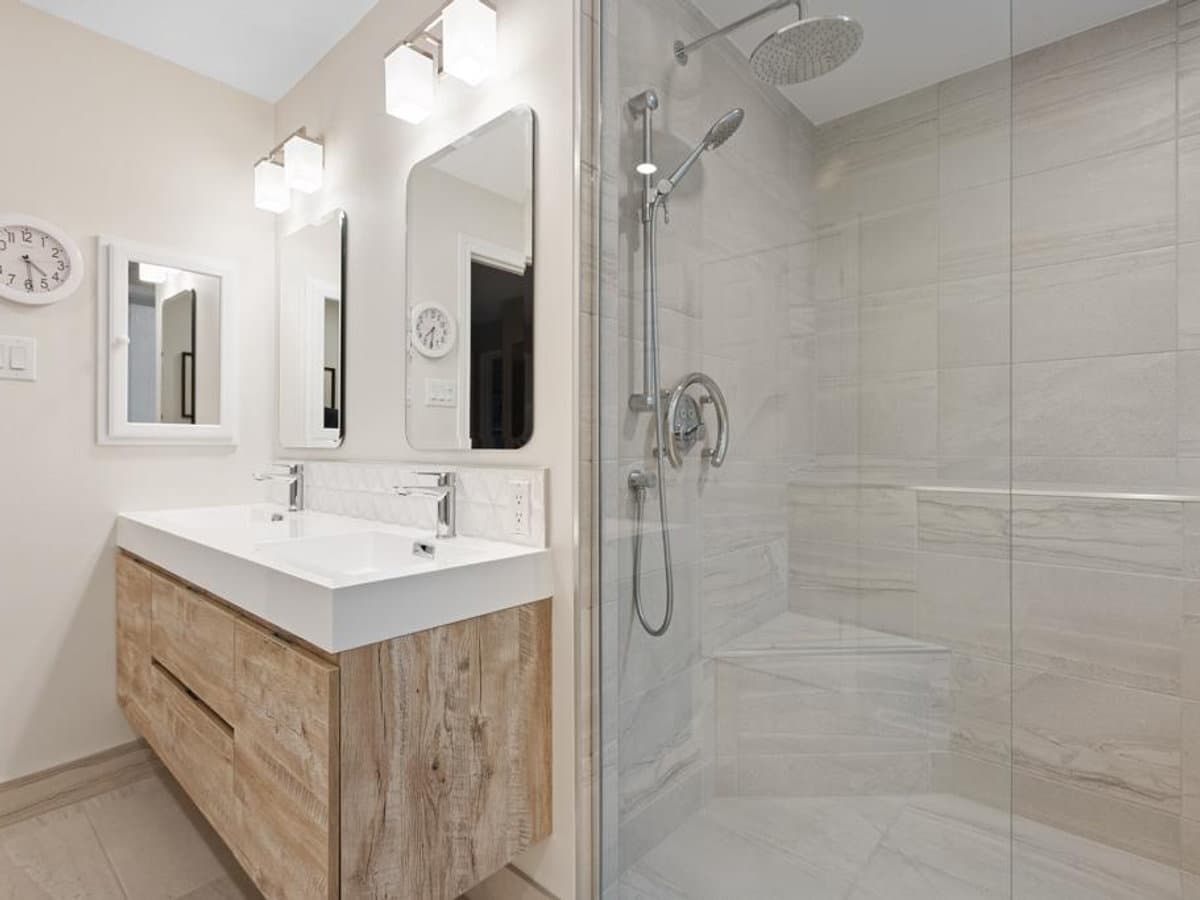
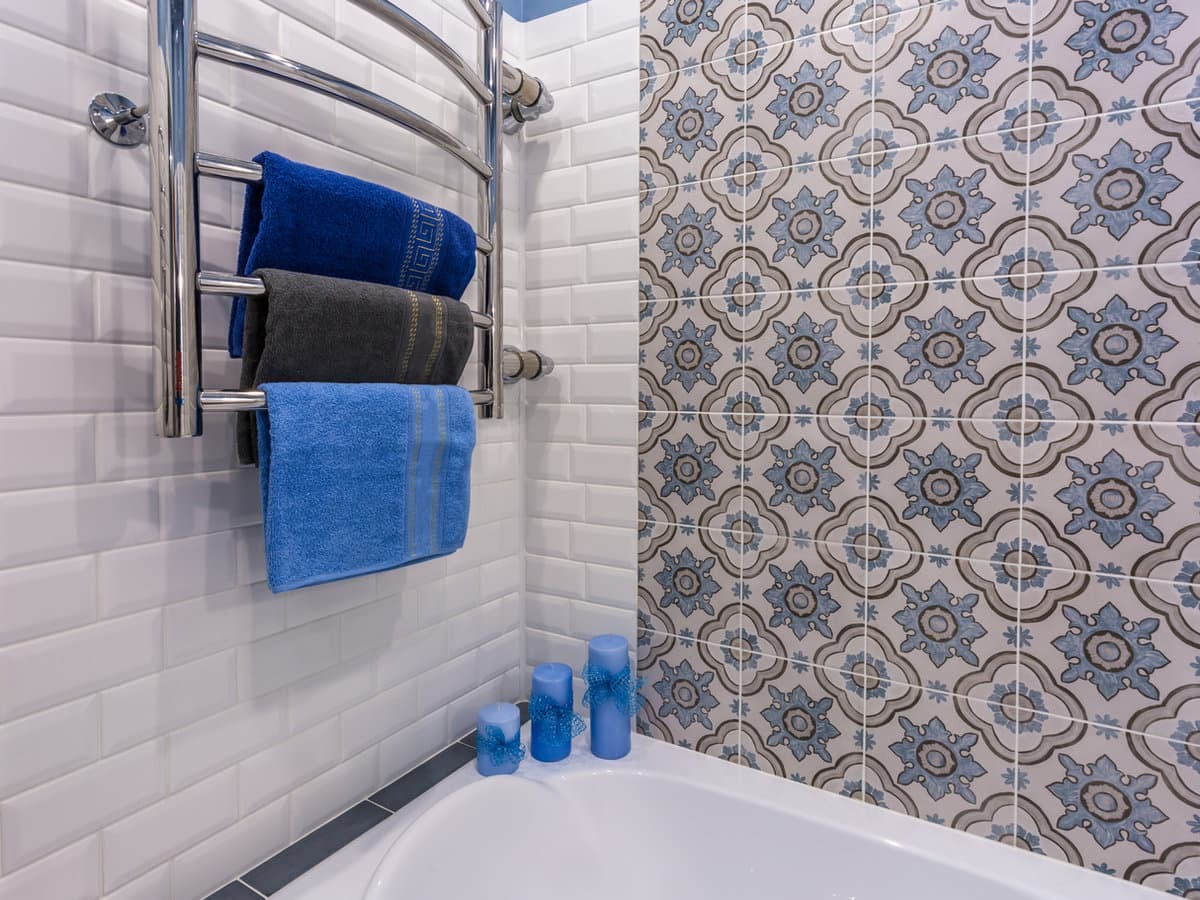
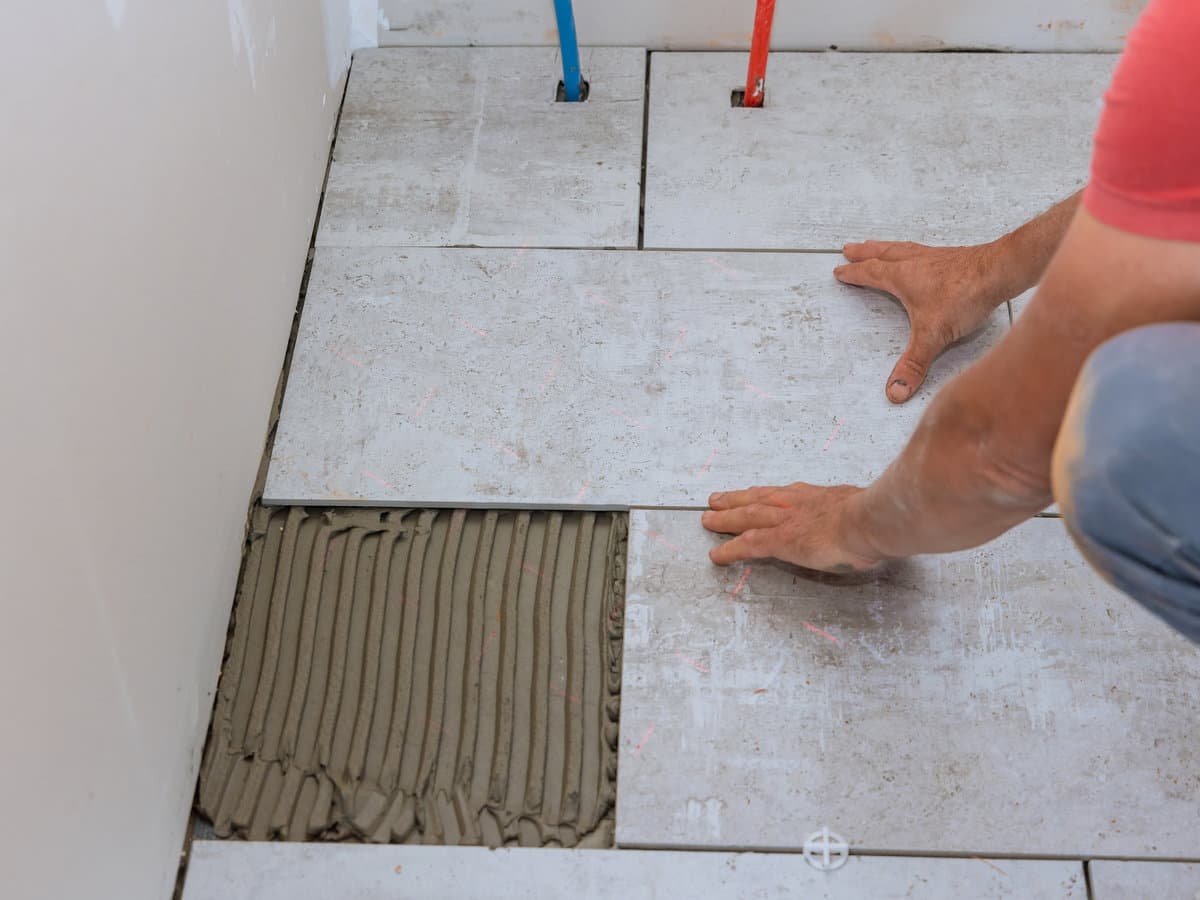
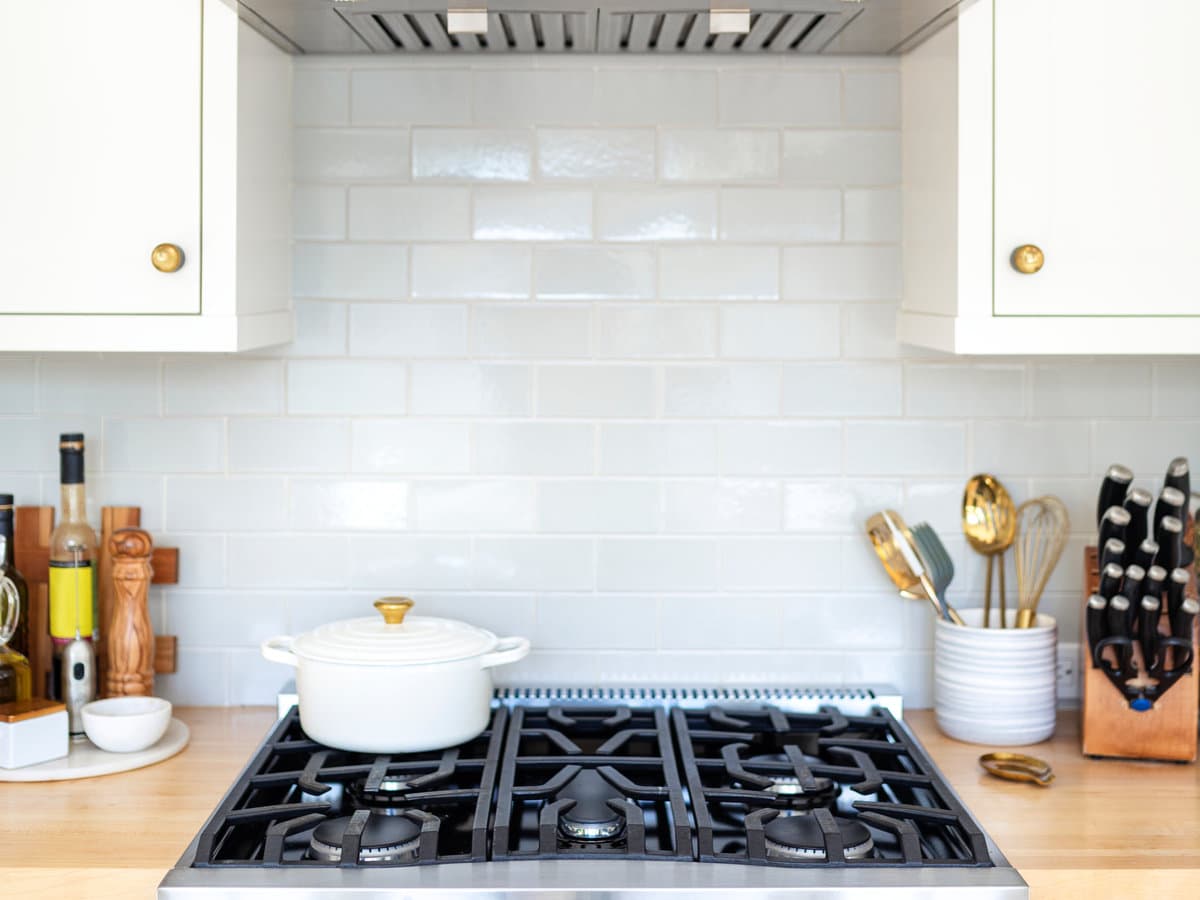
Bathroom, shower, floor, backsplash, repair, and reglazing services.
Quality Materials
We work with ceramic, porcelain, natural stone, glass, and mosaic tiles.
Expert Craftsmanship
Precision cuts, level installations, and waterproof finishes.
All Tile Services in Beachmont, Revere
In addition to tile contractor, we offer a complete range of tile services.
Why Beachmont, Revere Homeowners Choose Aguirre Modern Tile
5-Star Rated
Consistently rated 5 stars by our customers on Google.
Licensed & Insured
Fully licensed and insured in Massachusetts.
Fast Response
We respond to inquiries quickly and provide same-day estimates.
Quality Guaranteed
We stand behind our work with a satisfaction guarantee.
Tile Contractor FAQs for Beachmont, Revere
What areas do you serve?
We serve the Greater Boston area including all neighborhoods and surrounding communities within 30 miles.
Do you provide free estimates?
Yes, we provide free in-home estimates for all tile projects. We will assess your space and provide a detailed quote.
Are you licensed and insured?
Yes, Aguirre Modern Tile is fully licensed and insured for all tile installation and repair work in Massachusetts.
Ready for Your Tile Contractor Project in Beachmont, Revere?
Get a free estimate today. We serve Beachmont, Revere and all surrounding communities.